
Budget-friendly tips for deep beds that grow more and cost less
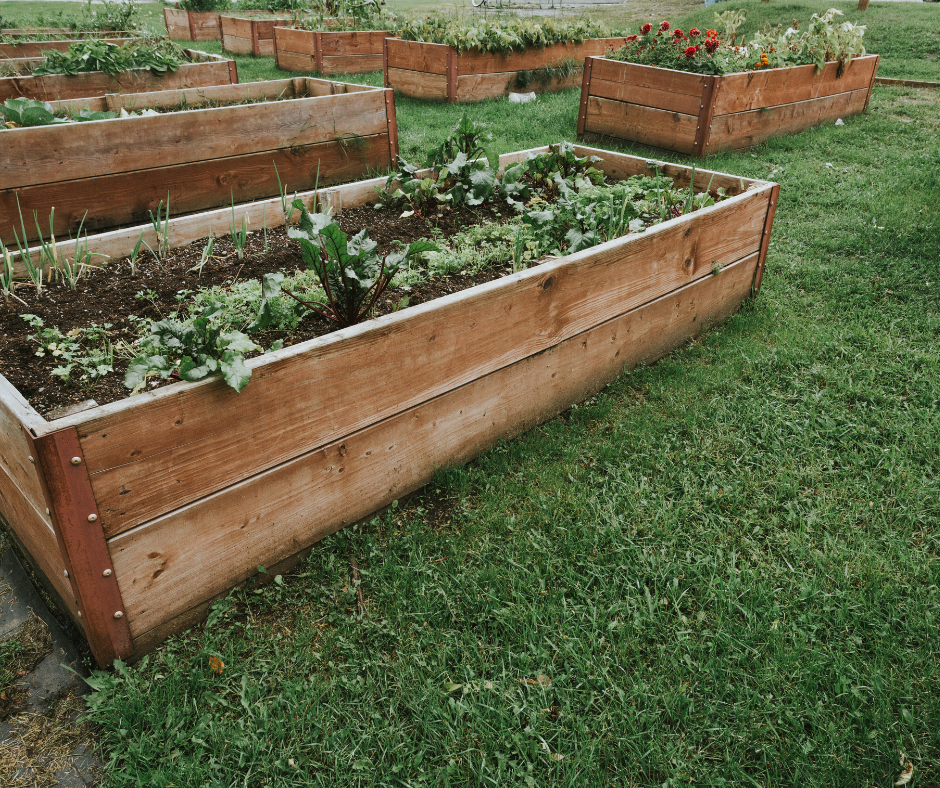
Raising your own garden beds is one of the best ways to grow healthy vegetables, herbs, and flowers—but when it comes time to fill those deep boxes with soil, the price tag can be intimidating. A single 4×8 raised bed that’s 2 feet deep can require over 40 cubic feet of soil, which can quickly add up if you’re buying premium garden mix by the bag.
Fortunately, there are creative, eco-friendly, and much cheaper ways to fill your raised garden beds without compromising on soil quality or plant health. Whether you’re a new gardener or expanding your backyard homestead, this guide will walk you through cost-effective strategies for filling large beds while setting your plants up for long-term success.
Why Filling Large Raised Beds Can Be So Expensive
If you’ve done the math, you know that even a moderately sized raised bed can hold hundreds of dollars’ worth of bagged soil if filled top to bottom. For example, a 4×8 bed that is 24 inches deep holds 64 cubic feet—or roughly 2.4 cubic yards—of soil. Depending on where you live, that much high-quality garden soil could cost $150 to $400 or more.
But here’s the thing: plants only need rich, loose soil in the top 6 to 12 inches, where most root activity happens. Below that, you can use inexpensive organic filler to save money and still provide excellent growing conditions.

Hugelkultur: The Secret to Cheaper and Healthier Raised Beds
One of the most effective methods for reducing the cost of filling raised beds is an old German technique called Hugelkultur (pronounced HOO-gul-culture). It involves layering logs, sticks, and other decomposing plant material beneath the soil. This buried organic matter breaks down over time, providing long-lasting nutrients and improving soil structure.
Hugelkultur Layer Breakdown:
- Bottom Layer (Logs and Branches): Fills the bulk of the space while adding structure.
- Middle Layer (Smaller Organic Matter): Leaves, straw, grass clippings, and cardboard act as filler and begin the composting process.
- Top Layer (Soil and Compost): The uppermost 6–12 inches of rich soil where plants root and grow.
Why It Works:
- Reduces how much soil you need to buy
- Encourages better drainage and moisture retention
- Adds nutrients gradually as organic materials decompose
- Helps reduce waste from your yard
Materials You Can Use to Fill Raised Beds for Less
To keep costs low, the key is to source free or inexpensive organic materials for the bottom two-thirds of the bed. Many of these items can be found in your own yard or obtained locally for free.
Layer 1: Bulk Fillers (Bottom 30–50%)
- Tree logs (avoid allelopathic woods like black walnut)
- Branches and sticks
- Untreated wood scraps
- Large bark pieces
Layer 2: Organic Fillers (Middle 20–30%)
- Grass clippings (dried to avoid matting)
- Straw or hay (no seeds)
- Dead leaves
- Wood chips
- Shredded cardboard and newspaper (avoid glossy prints)
Layer 3: Top Layer (Top 6–12 inches)
- Compost (homemade or store-bought)
- Garden soil mix
- A blend of topsoil and aged manure
- Worm castings or organic fertilizers (optional)
Tip: If you’re concerned about settling, overfill your beds slightly. Materials will compress over the first few weeks, especially after watering.
Step-by-Step: How to Build a Layered Raised Bed for Less
Step 1: Plan Your Bed
Measure your bed dimensions and calculate how much fill you need. For a 4x8x2′ bed:
- Total volume = 64 cubic feet (about 2.4 cubic yards)
- Fill ~50% with woody material = 32 cu ft
- Fill ~30% with organic fillers = 19 cu ft
- Top ~20% with soil = 13 cu ft

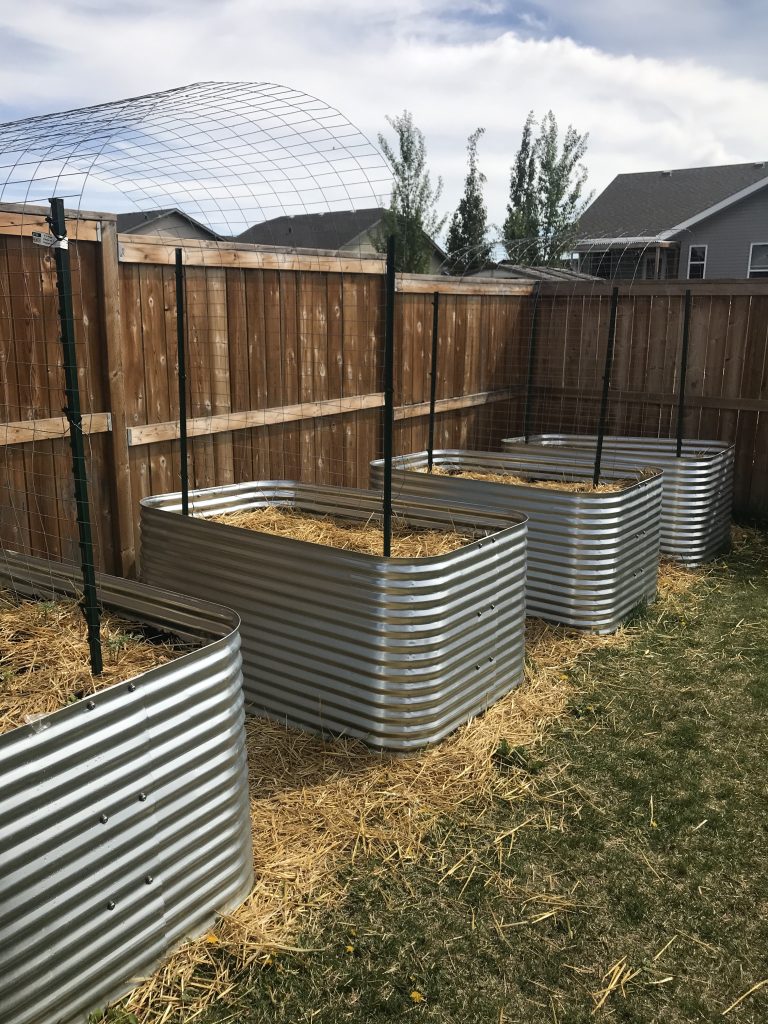
Step 2: Add Woody Base
Place logs and large branches at the bottom. Arrange them tightly but with some space for airflow. Water thoroughly to begin the breakdown process.

Step 3: Add Organic Middle
Fill the gaps and cover the wood with dried leaves, shredded cardboard, or straw. Water this layer as well.


Step 4: Add Soil and Compost Mix
Finally, top off the bed with 6–12 inches of rich soil mixed with compost. This is where your seeds or transplants will go.

Where to Find Free or Cheap Fill Materials
You’d be surprised how many local resources exist for free or low-cost organic materials.
Free Material Sources:
- Tree services – Call local arborists and ask for logs or wood chips
- City yard waste facilities – Many municipalities offer free mulch or compost
- Online platforms – Try Craigslist, Facebook Marketplace, or Freecycle
- Neighbors and friends – Especially those who recently trimmed trees or cleaned up yards
- Construction sites – Sometimes have clean fill dirt (ensure it’s free from chemicals)
Common Mistakes to Avoid
- Using treated wood in your bed or as filler — This can leach chemicals into your soil.
- Too much green material like fresh grass — It can get slimy or smelly.
- Overpacking filler — You still want good drainage and aeration.
- Not watering during build-up — Helps materials settle and begins composting.
- Too shallow topsoil — Roots need 6–12 inches of loose, rich soil.
Maintenance and Settling Tips
- Beds will settle 10–20% in the first few weeks. Plan for this.
- Add a 1–2 inch top-up layer of compost every season to refresh nutrients.
- Mulch the surface with straw or shredded leaves to retain moisture and prevent weeds.
Bonus: How This Method Benefits Your Plants
- Long-term soil health: As buried wood decomposes, it improves microbial activity and adds structure.
- Water retention: Organic materials help retain moisture, reducing watering needs.
- Natural fertilization: The breaking-down process feeds your plants slowly over time.
Final Thoughts: Smart Gardening Starts Below the Surface
Filling a large raised garden bed doesn’t have to cost a fortune. With a little planning, some scavenged materials, and basic knowledge of how soil ecosystems work, you can build a lush, productive garden that’s both affordable and sustainable.
Whether you’re a DIY enthusiast or a first-time gardener, this method is a fantastic way to make gardening more accessible—and more rewarding.
🌱 Have questions or want to share your own raised bed tips? Drop a comment below or tag me in your garden photos!


Leave a Reply